 Hello Peeps!!
Heather here and I hope you are having a fabby day! I will have to admit that I am soooo ready for Spring! Yesterday it was sunny/snowy/sunny/snowy/sunny...and again snowy! Unbelievable! So...again I will say that I am SOOOOO ready for spring!
Thank goodness I have so many lovely Springy Colors of Ribbons to choose from at Really Reasonable Ribbon!! The best news is
Bonnie has a SALE going on RIGHT NOW!! You can get all the deets here!!
Here is an Easter Tag to get us all into the Spring Groove.
I used a couple different sizes of mulberry roses in blue, deep ivory and baby pink!
Hello Peeps!!
Heather here and I hope you are having a fabby day! I will have to admit that I am soooo ready for Spring! Yesterday it was sunny/snowy/sunny/snowy/sunny...and again snowy! Unbelievable! So...again I will say that I am SOOOOO ready for spring!
Thank goodness I have so many lovely Springy Colors of Ribbons to choose from at Really Reasonable Ribbon!! The best news is
Bonnie has a SALE going on RIGHT NOW!! You can get all the deets here!!
Here is an Easter Tag to get us all into the Spring Groove.
I used a couple different sizes of mulberry roses in blue, deep ivory and baby pink!
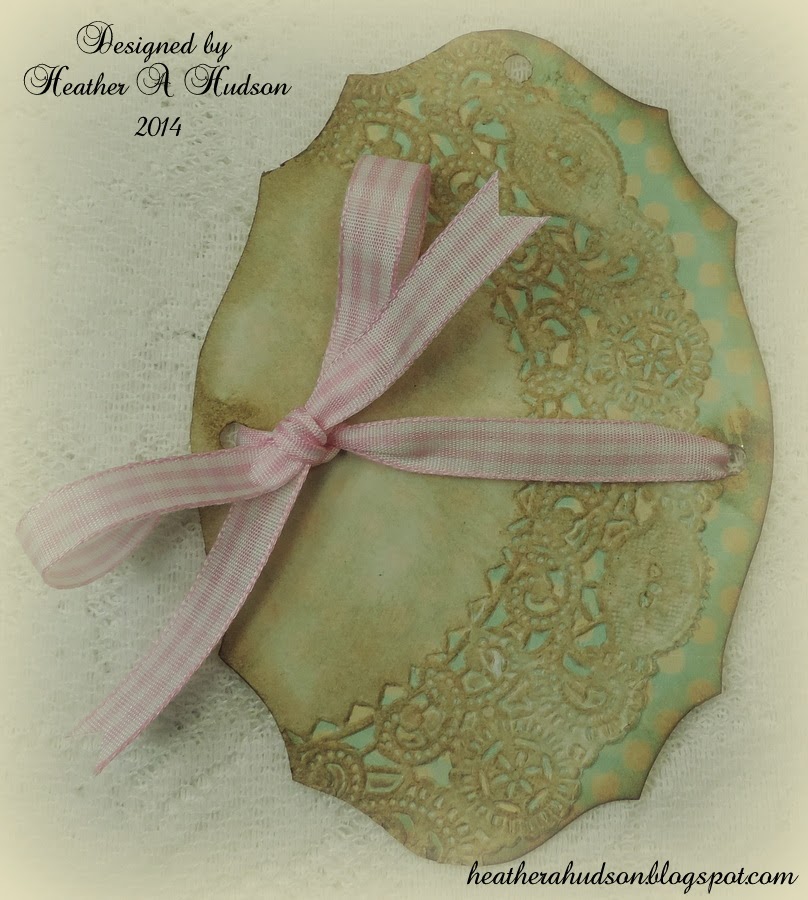
 I started out with a couple of my tag bases. Cut them out, glued them together and inked the edges with Ranger's Frayed Burlap.
I inked a doily with the Frayed Burlap to give it a nice vintage look and placed it on my fancy tag base.
I cut off the excess.
I used my crop-o-dile to punch a hole at the top of both tags, and the sides of my fancy tag base.
I used some of Bonnie's fabby Pink Gingham Ribbon to create a bow across the front of my fancy tag base.
Next I layered one of my Bunny Bingo cards with a medium and small Easter Egg image. I added Tombow foam tabs to the back of my eggs and one placed on top of the pink gingham.
Please refer to the photo below for placement. The additional tag will slide in under the ribbon, and fit under the egg images as well. The small egg will rest on theTombow foam tab that is showing and part of the medium egg.
I layered one of my Easter Journal tags onto my tag base.
Next I took a couple of my Vintage Easter Tickets, punched a tiny hole in them and tied them to my fancy tag base with both Cotton Candy .....
& Teal Baker's Twine.
Next I started to plan out where I wanted all of the beautiful Mulberry Roses to go.
I started out with a couple of my tag bases. Cut them out, glued them together and inked the edges with Ranger's Frayed Burlap.
I inked a doily with the Frayed Burlap to give it a nice vintage look and placed it on my fancy tag base.
I cut off the excess.
I used my crop-o-dile to punch a hole at the top of both tags, and the sides of my fancy tag base.
I used some of Bonnie's fabby Pink Gingham Ribbon to create a bow across the front of my fancy tag base.
Next I layered one of my Bunny Bingo cards with a medium and small Easter Egg image. I added Tombow foam tabs to the back of my eggs and one placed on top of the pink gingham.
Please refer to the photo below for placement. The additional tag will slide in under the ribbon, and fit under the egg images as well. The small egg will rest on theTombow foam tab that is showing and part of the medium egg.
I layered one of my Easter Journal tags onto my tag base.
Next I took a couple of my Vintage Easter Tickets, punched a tiny hole in them and tied them to my fancy tag base with both Cotton Candy .....
& Teal Baker's Twine.
Next I started to plan out where I wanted all of the beautiful Mulberry Roses to go.
 I also decided to add a button tied with more Cotton Candy baker's twine. I also added a bit of it to the top of my tag too. Then I placed a Two-toned Blue bow that I made with my Bow it all tool to the top of my tag (slightly offset, so that the other tag will still slide in under the ribbon). I decided to add an Easter Blessing tag to the fancy base as well, so when the other tag is removed, it will still be fantabulous!!
I did tuck in a couple of my favorite moss green leaves under the mulberry roses!! Next I started to add some glue with my fine tip applicator...and applied Fauna, Cheeky pink and Arbor glitters to my base tag and images.
Chamois glitter was added to the Easter Blessing tag.
I thought I would add some beads next to my flower clusters on my pull out tag.
Of course some Celery glitter to match my moss green leaves.
Even the tiny Vintage Easter Tickets are getting a little glitter.
I also decided to add a button tied with more Cotton Candy baker's twine. I also added a bit of it to the top of my tag too. Then I placed a Two-toned Blue bow that I made with my Bow it all tool to the top of my tag (slightly offset, so that the other tag will still slide in under the ribbon). I decided to add an Easter Blessing tag to the fancy base as well, so when the other tag is removed, it will still be fantabulous!!
I did tuck in a couple of my favorite moss green leaves under the mulberry roses!! Next I started to add some glue with my fine tip applicator...and applied Fauna, Cheeky pink and Arbor glitters to my base tag and images.
Chamois glitter was added to the Easter Blessing tag.
I thought I would add some beads next to my flower clusters on my pull out tag.
Of course some Celery glitter to match my moss green leaves.
Even the tiny Vintage Easter Tickets are getting a little glitter.
Here are a couple photos of the finished tags.
Close ups
Close ups
Close ups
Tag removed
I hope this has brought a little SPRING feelings into your Creative Day!!
Thank you for visiting us at Really Reasonable Ribbon!!


Hermosa tarjeta, mucha imaginación, los colores hermosos y elegante. Eres una artista.
ReplyDeleteSaludos desde Chile.
Maru
Love this project it is a breath of Spring I love all the little details especially the cute pull out tags I hope it stops snowing soon for you and it won't just say Spring on the calendar!
ReplyDeleteWow, how beautiful! LOVE all the gorgeous details and embellishments! Gorgeous project!
ReplyDeleteSherrie K
http:/sherriescraps.blogspot.com
This is so beautiful! Love the glitter details added to these wonderful images!!!
ReplyDelete